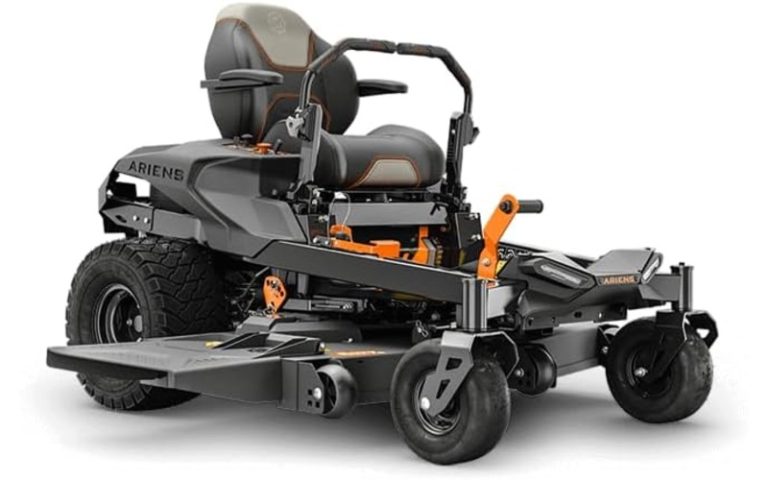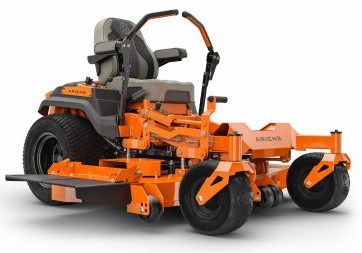
The Guide On How To Change Blades On A Zero-Turn Mower
Maintaining your zero-turn mower is crucial for keeping your lawn looking pristine. One of the most important maintenance tasks is changing the blades. Sharp, well-maintained blades ensure a clean, even cut and improve the efficiency of your mower. In this guide, we’ll walk you through the step-by-step process of changing the blades on a zero-turn mower, ensuring you can tackle the task with confidence.
Why Regular Blade Maintenance is Essential
Before diving into the process, it’s important to understand why regular blade maintenance is essential. Dull or damaged blades can cause several problems:
- Uneven Cuts: Dull blades result in a ragged cut, which can lead to an uneven lawn appearance.
- Increased Strain: Worn-out blades force the engine to work harder, potentially causing premature wear and tear.
- Lawn Health: A clean cut promotes healthier grass growth and reduces the risk of disease.
Regularly changing the blades ensures optimal performance and a healthier lawn.
Tools and Supplies You’ll Need
Before starting, gather the following tools and supplies:
- New Blades: Ensure you purchase the correct blades for your mower model.
- Socket Wrench Set: For removing and installing bolts.
- Lug Wrench or Impact Wrench: To loosen and tighten bolts.
- Safety Gloves: To protect your hands.
- Jack Stands or Lift Kit: To safely elevate the mower deck.
- Pliers: To remove any retaining clips.
- Lubricant Spray: To make removing rusted bolts easier.
- Safety Glasses: To protect your eyes.
Step-by-Step Guide to Changing Mower Blades
1. Prepare Your Mower

Safety First: Ensure the mower is turned off, the key is removed, and the engine is cool. Engage the parking brake to prevent any movement.
Lift the Mower Deck: Use a jack stand or a lift kit to raise the mower deck. Ensure it is securely supported before proceeding. Refer to your mower’s manual for specific instructions on how to lift the deck safely.
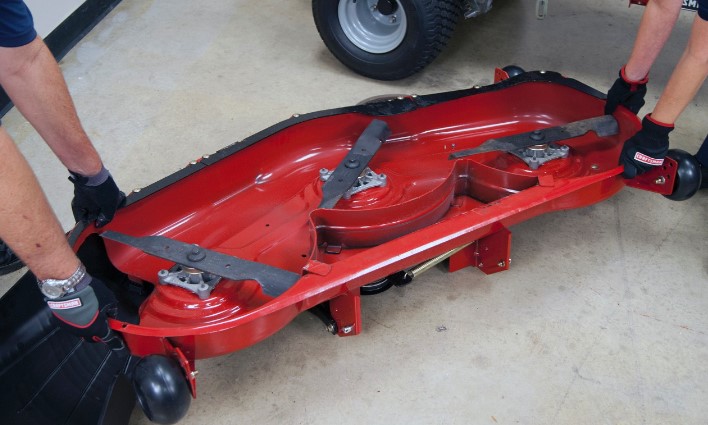
2. Remove the Old Blades
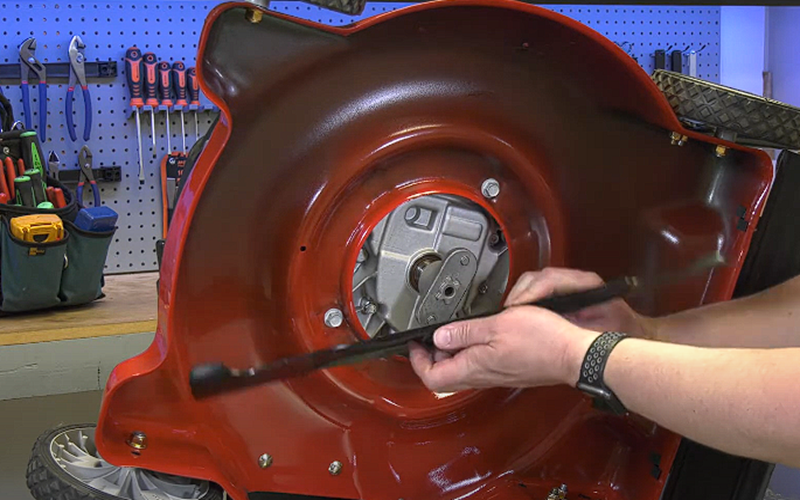
Locate the Blades: The blades are attached to the underside of the mower deck. You may need to rotate the blades to access the bolts.
Remove the Bolts: Use a socket wrench or impact wrench to remove the bolts securing the blades. If the bolts are rusted or difficult to remove, apply a lubricant spray and let it sit for a few minutes before attempting again.
Detach the Blades: Once the bolts are removed, carefully take off the old blades. Be mindful of any retaining clips or washers that may also need to be removed.
3. Install the New Blades
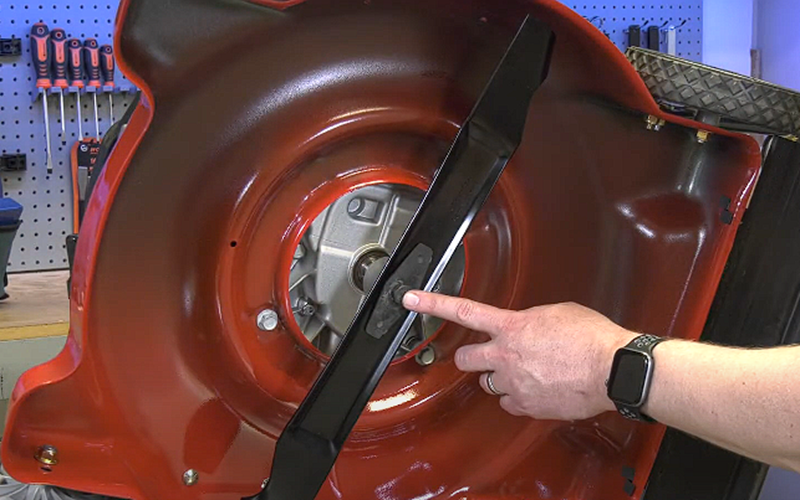
Align the Blades: Position the new blades onto the spindle. Ensure that they are aligned correctly with the bolt holes.
Secure the Blades: Place the bolts through the blade holes and tighten them securely using your socket wrench or impact wrench. Make sure the blades are fastened evenly and securely.
Check Blade Position: Ensure the blades are positioned correctly and there is no wobbling. Proper alignment is crucial for an even cut.
4. Reassemble and Lower the Deck
Replace Any Retaining Clips or Washers: If you removed any clips or washers, reattach them in their proper positions.
Lower the Mower Deck: Carefully lower the mower deck back to its normal position. Ensure everything is securely reassembled before lowering.
Check the Blade Height: Adjust the blade height if necessary, according to your lawn’s needs. Refer to your mower’s manual for the recommended blade height settings.
5. Test the Mower
Start the Engine: Turn on the mower and let it run for a few minutes. Listen for any unusual noises and check for proper blade operation.
Test the Mower: Take the mower for a test run on a small section of your lawn to ensure the blades are cutting evenly. Adjust if needed.
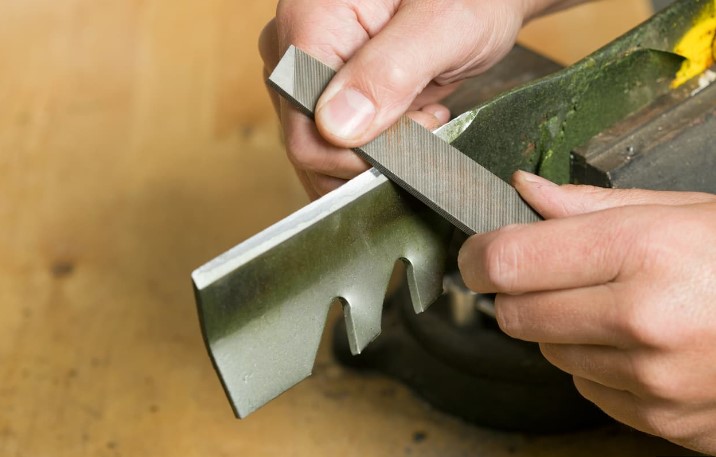
Tips for Maintaining Your Mower Blades
- Sharpen Regularly: Sharpen blades every 20-25 hours of mowing to maintain efficiency.
- Inspect Frequently: Check for any damage or wear after each mowing session.
- Clean Blades: Remove any grass clippings or debris from the blades to prevent rust.
- Balance Blades: Ensure blades are balanced to prevent vibration and uneven cutting.
Troubleshooting Common Issues
Blades Not Cutting Evenly: Check for proper blade alignment and sharpness. Ensure blades are balanced and not dull.
Mower Vibrating Excessively: This could indicate that the blades are unbalanced or improperly secured. Check the bolts and blade alignment.
Rust on Blades: Regularly clean and lubricate blades to prevent rust. Store the mower in a dry place to reduce rust formation.
Conclusion
Changing the blades on your zero-turn mower is a straightforward process that can significantly improve your mower’s performance and your lawn’s appearance. By following this guide, you’ll be able to perform blade changes efficiently and ensure your mower is always in top condition. Regular maintenance, including blade changes, will keep your mower running smoothly and your lawn looking its best.
Remember, safety is key. Always follow proper procedures and consult your mower’s manual for specific instructions related to your model. With the right tools and a bit of know-how, you’ll keep your zero-turn mower in excellent shape and your lawn in pristine condition.

Michael Anderson is a lawn care professional with many years of experience in the industry. His journey began in his family’s landscaping business, where he developed a passion for gardening and outdoor maintenance. Michael specializes in helping homeowners tackle challenging terrain, focusing on the best equipment and techniques for effective lawn care.
In 2024, he founded bestzeroturnmowerforhills.com to share his knowledge and help others find the ideal zero turn mower for hilly landscapes. His commitment to providing unbiased reviews and practical advice has made him a trusted resource for gardening enthusiasts.